Android加載字體包及封裝的方法是什么
這篇文章將為大家詳細講解有關Android加載字體包及封裝的方法是什么,小編覺得挺實用的,因此分享給大家做個參考,希望大家閱讀完這篇文章后可以有所收獲。
創新互聯公司專注于企業成都營銷網站建設、網站重做改版、長寧網站定制設計、自適應品牌網站建設、H5建站、成都做商城網站、集團公司官網建設、外貿營銷網站建設、高端網站制作、響應式網頁設計等建站業務,價格優惠性價比高,為長寧等各大城市提供網站開發制作服務。
TextView加載字體包
在 Android 中,若需要使得某個TextView加載字體包,使用以下方式即可:
 Typeface typeFace =Typeface.createFromAsset(getAssets(),"fonts/Bold.otf");
  textView.setTypeface(typeFace);
至于字體包的位置:
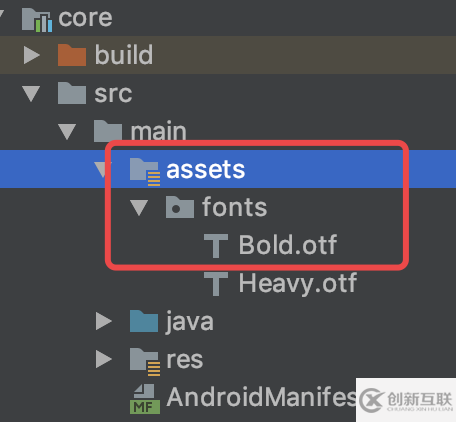
通過以上方法,可以使得一個TextView加載某種字體包,但是,還有這種需求:
- 部分
TextView加載字體包 - 每個
TextView加載的字體包不一定一樣
這時,我們就需要稍微封裝下,將其封裝成一個自定義TextView類,若需要使用字體包,則加載該類,同時,可以根據xml里面的值,從而加載不同的字體包。
封裝
定義屬性值
首先,我們需要從xml里面獲取值,因此,需要在attr中進行屬性值的定義:
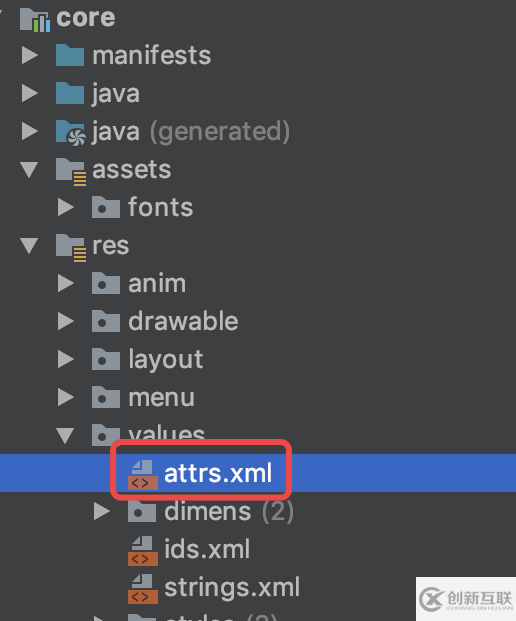
<declare-styleable name="FontTextView">
  <attr name="fontType" format="enum">
   <enum name="bold" value="1" />
   <enum name="heavy" value="2" />
  </attr>
 </declare-styleable>
這里我只定義了兩種屬性,大家可以根據需求進行增減。
創建自定義TextView
public class FontTextView extends AppCompatTextView {

 public FontTextView(Context context) {
  super(context);
 }
 public FontTextView(Context context, @Nullable AttributeSet attrs) {
  this(context, attrs, 0);
 }
 public FontTextView(Context context, @Nullable AttributeSet attrs, int defStyleAttr) {
  super(context, attrs, defStyleAttr);
 }
}
獲取屬性值
//獲取參數
  TypedArray a = context.obtainStyledAttributes(attrs,
    R.styleable.FontTextView, defStyleAttr, 0);

  int fontType = a.getInt(R.styleable.FontTextView_fontType, 1);
進行值判斷并加載不同的字體包
private final int BOLD = 1;
 private final int HEAVY = 2;

 String fontPath = null;
  switch (fontType) {
   case BOLD:
    fontPath = "fonts/Bold.otf";
    break;
   case HEAVY:
    fontPath = "fonts/Heavy.otf";
    break;
   default:
  }
  //設置字體
  if (!TextUtils.isEmpty(fontPath)) {
   Typeface typeFace = Typeface.createFromAsset(getContext().getAssets(), fontPath);
   setTypeface(typeFace);
  }
全部源碼
public class FontTextView extends AppCompatTextView {

 private final int BOLD = 1;

 private final int HEAVY = 2;

 public FontTextView(Context context) {
  super(context);
 }

 public FontTextView(Context context, @Nullable AttributeSet attrs) {
  this(context, attrs, 0);
 }

 public FontTextView(Context context, @Nullable AttributeSet attrs, int defStyleAttr) {
  super(context, attrs, defStyleAttr);

  //獲取參數
  TypedArray a = context.obtainStyledAttributes(attrs,
    R.styleable.FontTextView, defStyleAttr, 0);

  int fontType = a.getInt(R.styleable.FontTextView_fontType, 1);

  String fontPath = null;
  switch (fontType) {
   case BOLD:
    fontPath = "fonts/Bold.otf";
    break;
   case HEAVY:
    fontPath = "fonts/Heavy.otf";
    break;
   default:
  }
  //設置字體
  if (!TextUtils.isEmpty(fontPath)) {
   Typeface typeFace = Typeface.createFromAsset(getContext().getAssets(), fontPath);
   setTypeface(typeFace);

  }
 }
}若需要使用字體包TextView,使用以下方式即可:
<com.jm.core.common.widget.textview.FontTextView
  android:layout_width="wrap_content"
  android:layout_height="wrap_content"
  app:fontType="bold"
  android:text="測試" />
效果

關于Android加載字體包及封裝的方法是什么就分享到這里了,希望以上內容可以對大家有一定的幫助,可以學到更多知識。如果覺得文章不錯,可以把它分享出去讓更多的人看到。
新聞名稱:Android加載字體包及封裝的方法是什么
URL分享:http://m.newbst.com/article32/jescsc.html
成都網站建設公司_創新互聯,為您提供企業建站、云服務器、響應式網站、定制開發、網站內鏈、ChatGPT
聲明:本網站發布的內容(圖片、視頻和文字)以用戶投稿、用戶轉載內容為主,如果涉及侵權請盡快告知,我們將會在第一時間刪除。文章觀點不代表本網站立場,如需處理請聯系客服。電話:028-86922220;郵箱:631063699@qq.com。內容未經允許不得轉載,或轉載時需注明來源: 創新互聯

- 微信公眾號怎么運營?微信公眾號運營開發+方案披露 2022-08-15
- 微信公眾號引流有哪些重要的方法 2013-12-09
- 微信公眾平臺數據接口正式對所有認證公眾號開放 2016-09-04
- 『微信公眾號運營技巧』增加粉絲數量的38招 2022-06-25
- 企業擁有公眾號后,為什么要做微網站? 2016-08-15
- 個人的微信公眾號如何有價值的運營看你懂多少! 2022-07-13
- 一個打動用戶的微信公眾號是怎么做內容運營的? 2022-07-06
- 新媒體公眾號有哪些賺錢的方法? 2014-07-09
- 微信公眾號的營銷策略有哪些? 2015-09-06
- 怎么制作微信公眾號如何才能做好 2022-11-18
- 微信公眾號的區別在哪里? 2016-09-17
- 微信公眾號注冊申請流程 2022-11-11